Created by Mike & Mollie. Subscribe to our blog.
Maybe you’re the kind of person who takes lots of pictures of your family and kids each year, posts a decent amount of them on social media, prints out a handful for your walls or on a Christmas card, but then are stuck with the question, “Now what in the world do I do with the several hundred others I took and love that are just sitting on my computer?!”.
I’m glad you’re reading this post, because I asked myself that very same question a few years ago and have found a solution that is honestly one of the BEST things I did for our family since then.
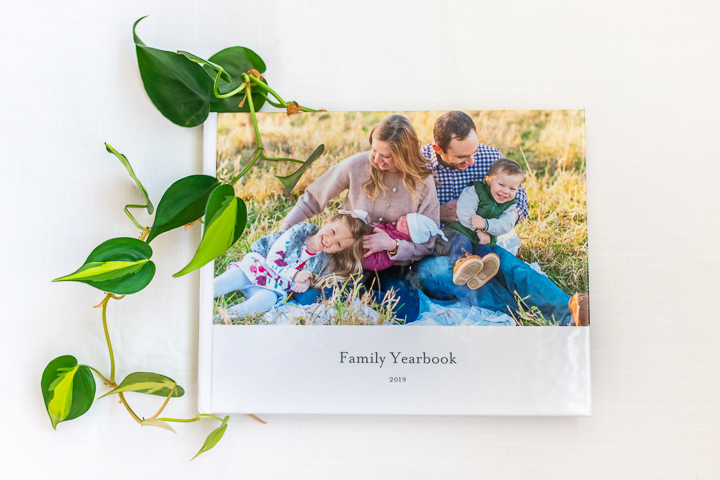
What’s the secret? Making an annual family photo book that includes ALL of my favorite photos from the year.

Why Make an Annual Family Photo Book?
One of my favorite hobbies is documenting our days and milestones through photographs. To me, it’s such a special way to remember how my children were at that specific point in time. Photos allow me to cherish these moments that don’t last long before they move onto another phase or stage in life. I knew that if I didn’t do something with these photos, they would end up sitting on my computer year after year…collecting virtual dust.
So I thought about the best way to preserve these memories, and can say without a doubt that making a family photo book of our year’s memories has been something that I will continue to do for many more years.
Creating a family photo book can be overwhelming. You might wonder how to get started or even how to sift through all the hundreds and hundreds of pictures you have sitting on your computer from the past year. I know how you feel, because that was my exact feeling before starting my first annual photo book.
I remember creating my very first photo book of my daughter’s first 18 months. I kept putting it off until she was almost 18 months old, and by that time, it was a daunting task of trying to remember what happened during the past year and a half and collecting the photos that would best represent each milestone.
So I’m here to share with you my 6 easy steps of how to create an annual family photo book!
The Creation Process
Step 1: Start early!- Don’t wait until December to create a book of the past year. Depending on how many pages and pictures you’d like to include in your book, it can be quite time consuming. I started my yearbook in February and each month I worked on it little by little, adding new pages to the book as life happened. This helped me to remember details that I wanted to include in my captions that I probably would have otherwise forgotten if I waited until the end of the year.
Step 2: Sort Photos into Folders- This is one of my biggest and most important tips to avoid being overwhelmed with creating a photo book. In my book, I include photos from both my camera and my phone, so having a good system is really important. When I take photos with my camera, I always upload them into a folder on my computer labeled with the season and year. For example, after taking pictures of my family at Christmas this past year, I uploaded them to my computer and put them in the folder titled “Winter Family 2020”. When it’s time to make the pages for Christmas in my yearbook, I know exactly where to look.
For photos I take with my phone, they automatically get uploaded to Google Photos. Since I take a lot of photos with my phone but don’t want to use ALL of them, I make an album for each season. I’ll make albums titled Winter 2020, Spring 2020, Summer 2020, and Fall 2020. This is where I’ll drag all the keepers (i.e. all the edited photos that I know I want to use in my book). This makes it really easy when it’s time to create the pages in my book, all I have to do is open the album and select the photos. Goodbye scrolling through hundreds and hundreds of pictures on Google Photos to find the one I’m looking for!

Step 3: Choose a Company to Make Your Book- There are so many great options of book publishers out there so choosing the right one before you begin your book is important. I did a good amount of research on this before starting my photo book last year. I went back and forth between Shutterfly, Artifact Uprising, Mixbooks, and Blurb. They’re all fairly similar in the process of making a photo book, but do vary in price, quality, and overall look. I decided to go with Shutterfly for several reasons– it’s rated very highly among many reviews and is great quality for the price. And if you have a very large book (about 100 pages), waiting for the “Free Additional Pages” deal will save you so much!
My quick photo book publisher comparison:
- Shutterfly – Nice quality for a more affordable price, lots of template and designs
- Artifact Uprising – A stunning physical book, great quality, more restrictive software, quite highly priced
- Mixbooks – Great photo quality, thick pages, vivid colors, easy to use, reasonably priced
- Costco– Best photo book publisher for those on a budget (even if you’re not a member!)
- Snapfish– Easy to use, variety of templates, average quality
Step 4: Start Making Your Book!– Now that you’ve got a good system of photo organization and decided on which company you’ll use, it’s time for the fun part! Some things to think about before diving right in are…
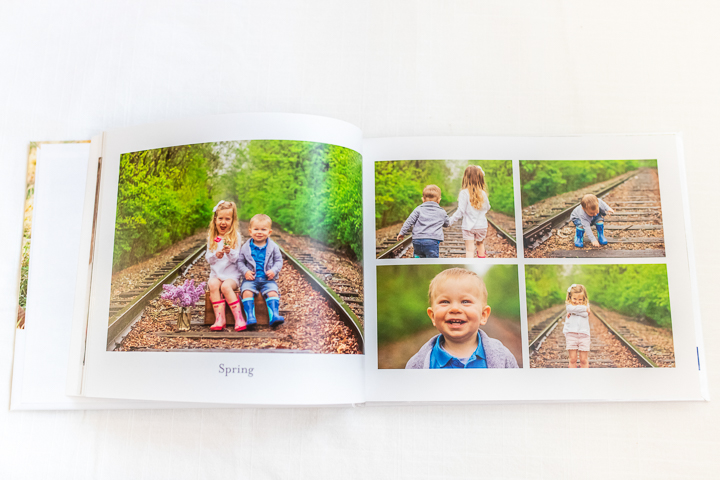
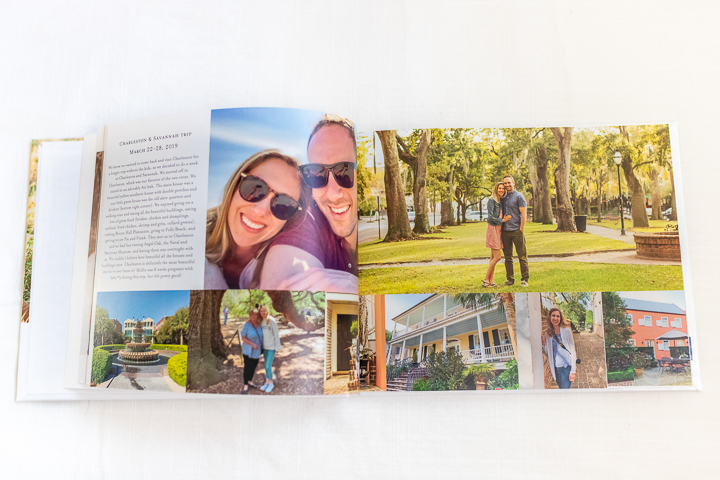
*How will you organize your pages?– Some examples are organizing pages by month, season, or special event. I chose to organize my book by season. I used our seasonal “railroad track photo” as the beginning of each season. This helped me to break my book into chunks so that it seemed more like a story of our year rather than a pile of pictures.
*What style do you like?- Do you love your pages filled with lots of pictures? Few pictures with margins for a more minimalist look? White pages? Colorful pages with a selected theme? Will you include text on all, some, or none of your pages?
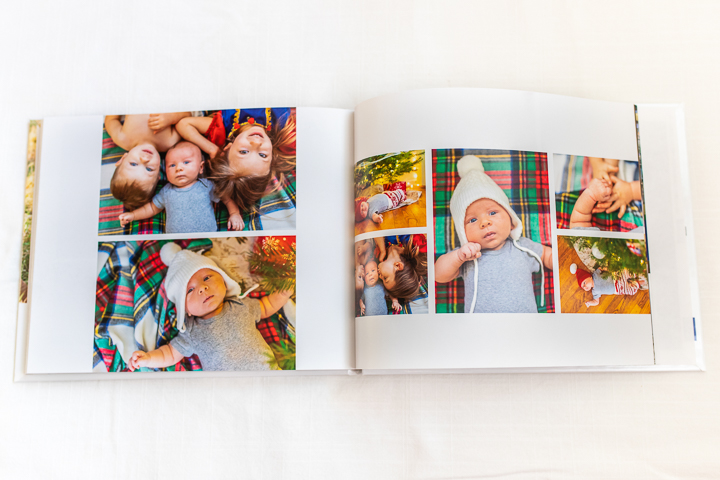
I knew I wanted the focus of my pages to be larger sized pictures with lots of white space, so I chose a simple white design for my book. I included a good amount of text at the beginning of each season to sum up those pages and also on my special events pages (like vacations) because there were lots of details I didn’t want to forget. Most of my pages do not have text on them, since I like a more simple look.

*Camera vs. Phone quality- It’s also important to keep in mind the sizing of your photos. I knew the quality of the photos I took with my DSLR camera would be really good since they’re all high-resolution images, so I could make them as large as I wanted. The photos I used from my iPhone X are still really nice quality, but I can tell a difference if I make them larger, so I aimed to keep the photos from my phone smaller than the photos from my camera.
Step 5: Work at it often- The beauty of starting your family photo book early on in the year is that you can work on it little by little (every few weeks or couple of months) and not be overwhelmed with the task of having to do the whole year’s worth of photos at once. I’m so glad I started early on in the year because it was fun being able to document our days and special events as they occurred since they were more fresh in my mind.
Step 6: Order Your Book!- This is the easiest step of them all, but does require some thought since photo books can be expensive. Companies will run deals at certain times of the year. Some offer 40%-50% off specials and some even offer free additional pages (which is a great deal if you’re making a large book). Shutterfly even offers a free photo book different times throughout the year (8×8 or smaller with limited pages). You might have to wait a few weeks to get the best deal, but it can save a good amount of money.
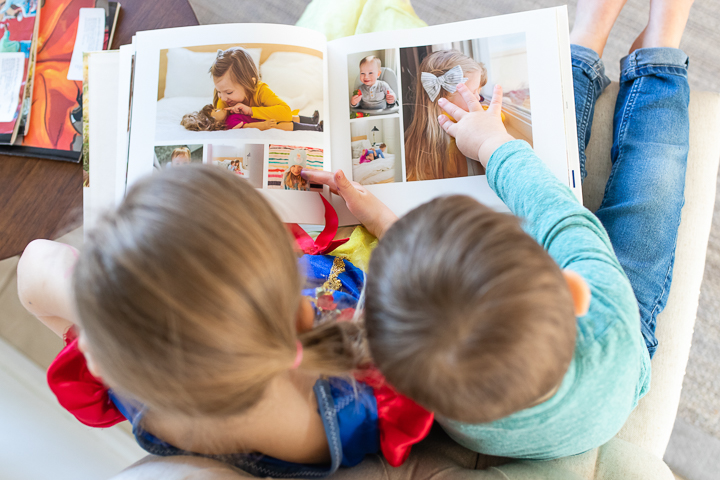
I hope this post left you feeling excited to start creating your own photo book this year! I have by no means perfected the process of making a family photo book, so if you’ve made one before and have a great system, feel free to pass along any tips in the comments below!
Common Questions
- How are photo books printed?– That’s a great question, it’s a pretty cool process that you can watch a short video of here.
- How do you make a photo book?– Well that’s pretty much the gist of this blog post! But in short I would say start early in the year, have a good system of photo organization, and work at it often!
- Which online photo book company is best?– According to Tom’s Guide, Mixbook is rated the best photo book company for 2020 — it offers powerful but easy to use software, is reasonably priced, and has a great finished product.
- What size photo book is best?– I’ve always chosen an 8×11 size for my photo books, but 8×8 is also a popular and more common option if you want a smaller sized book.
- How many pages should a photo book be?– I take a lot of pictures each year so I knew my book would be on the larger size (101 pages). I would not go any larger than about 100 pages or else you’ll end up with a very large book that takes a good amount of time to look through.
- Which is the easiest photo book site?– If you’re not into curating your own photo book and solely want your pictures documented, Chatbooks is a great option. It’s also available as a mobile app and lets you create family photo books straight from your phone. You can even subscribe to an Instagram series.
- Why create a photo book?- Photo books are an amazing way to preserve and document special memories. There’s lots of ways to customize your book and it’s a great way to share your photos with family and friends.
- Can you add pages to your photo book throughout the year?– Yes, just about all companies allow you to start your book and then add new pages to it whenever you like. Make sure you check the maximum size of pages allowed if you’re planning on making a large book.
- What are the best occasions to create a photo book?– I create my photo books as a “yearbook” and documentation of our family each year, but have also created them as baby books. Other popular occasions are weddings and vacations.
- Photo book vs photo album- which is best?– I’ve done both and would definitely say that I prefer photo books. With photo albums, you’re faced with having a mixture of horizontal and vertical pictures, causing you to have to turn the album to see the picture in the correct orientation. Photo books allow you to include both horizontal and vertical pictures on the same page without having to turn it.
🌿 Introducing, Declutter Your Life, a premium newsletter with monthly challenges to help you live a less cluttered life– inside and out.

